
Where did the Easter Bunny come from? | 3 Easter crafts for kids
Find a babysitter or babysitting job, or stay up to date with the latest childcare tips!
Get started today for free.
Get startedWhat is a holiday if not an opportunity to decorate your house with festive decorations? To help you keep the kids entertained, we’ve researched about the origins of the Easter Bunny and created some fun and easy Easter DIYs for you and your little ones!
All over the world, Easter is one of the most celebrated holidays of the year. It’s also a great time to do some fun activities with kids. Preparing Easter egg hunts, making tasty Easter treats and decorating the house to welcome your loved ones are just a few ideas of how to make the most of it!
Of course, we can’t think about Easter or kids Easter activities without thinking of the Easter Bunny. But where does the Easter Bunny come from? Need to explain the Easter Bunny’s origin to some curious kids (or simply curious yourself)?
There are many different stories about the origin of the Easter Bunny and it is clear that there is no right or wrong one. It's just what happens when traditions are very old and people end up losing track of how and where they began. One of the most consensual stories about this Easter character goes as far as the 1700s when German immigrants who settled in Pennsylvania brought with them a tradition of an egg-laying hare called “Osterhase” or “Oschter Haws”. According to that way of celebrating, their children would build nests in which the animal layed its colored eggs. With time, the tradition spread across the world and changed a little bit: today, this hare is a fluffy bunny that brings chocolate eggs to well-behaved children in a beautiful and colourful basket!
Now that you know more about the fables of Easter why not put your family to work and do some fun Easter activities for kids? We have decoration, recipe and craft ideas for all tastes.
Let's get crafting!
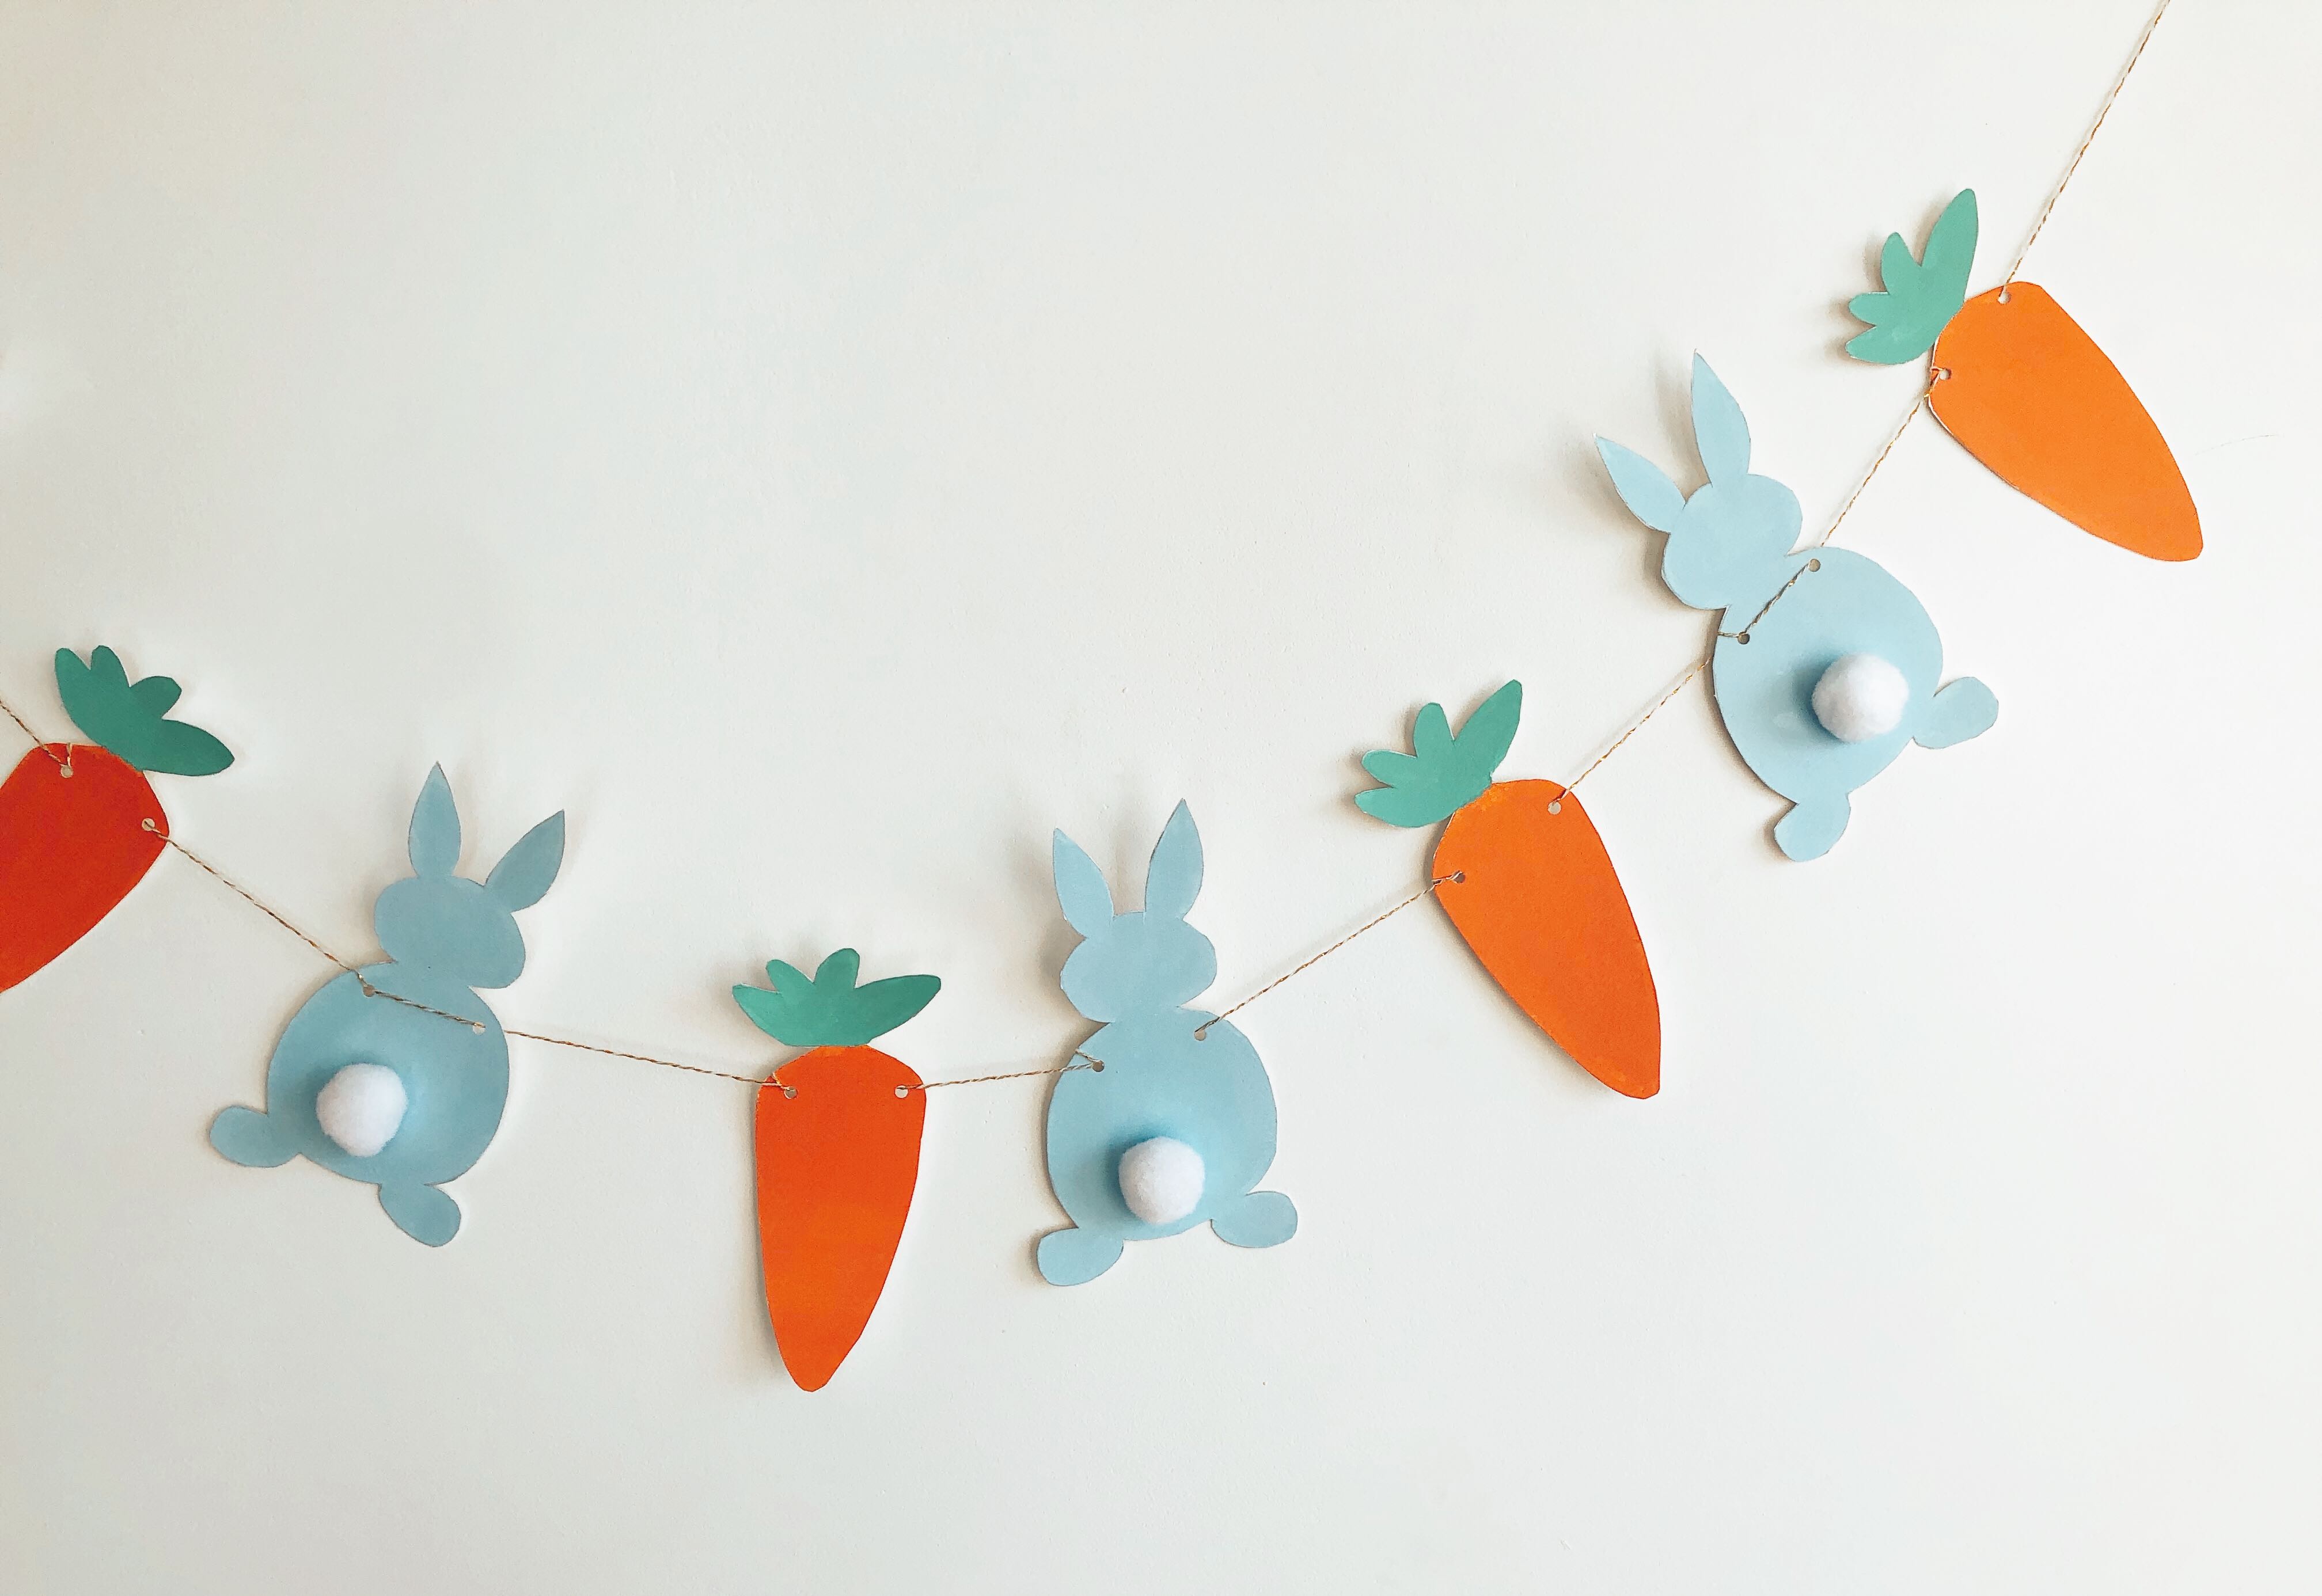
DIY Bunting Easter Decorations
Liked the Easter Bunny story? We’ve created printable templates, so you can decorate your home with it and don't have to struggle perfecting your carrot and bunny designs!


Once you’ve printed your template designs, you can go ahead and carefully cut them out. Younger children might need some help with this part. Tip: be extra careful when cutting around the trickier details (i.e. bunny ears and carrot leaves) because you might accidentally snip them off!

Now that we have our templates cut out, we can use them as stencils to transfer the designs onto thick paper. This step is optional, so if you don’t have thick paper (such as craft paper) at home, you can also simply use the printed templates! However, we decided to trace the templates onto 400g acrylic paper because this material is thick and holds paint well.
Tip: to keep the templates from moving whilst you’re stenciling, use a bit of adhesive putty to keep them in place!

You can decide how many bunnies and carrots you want to trace, depending on how long or short you want the length of your bunting to be. We traced 4 bunnies and 4 carrots to create a bunting length of approximately 1 metre (enough to cover one window). Once you’ve finished tracing, you can decide what colours you want to use, and start painting! If you’re not using thick paper, you could also use coloured pencils, crayons or markers (bonus: this might mean less mess!).
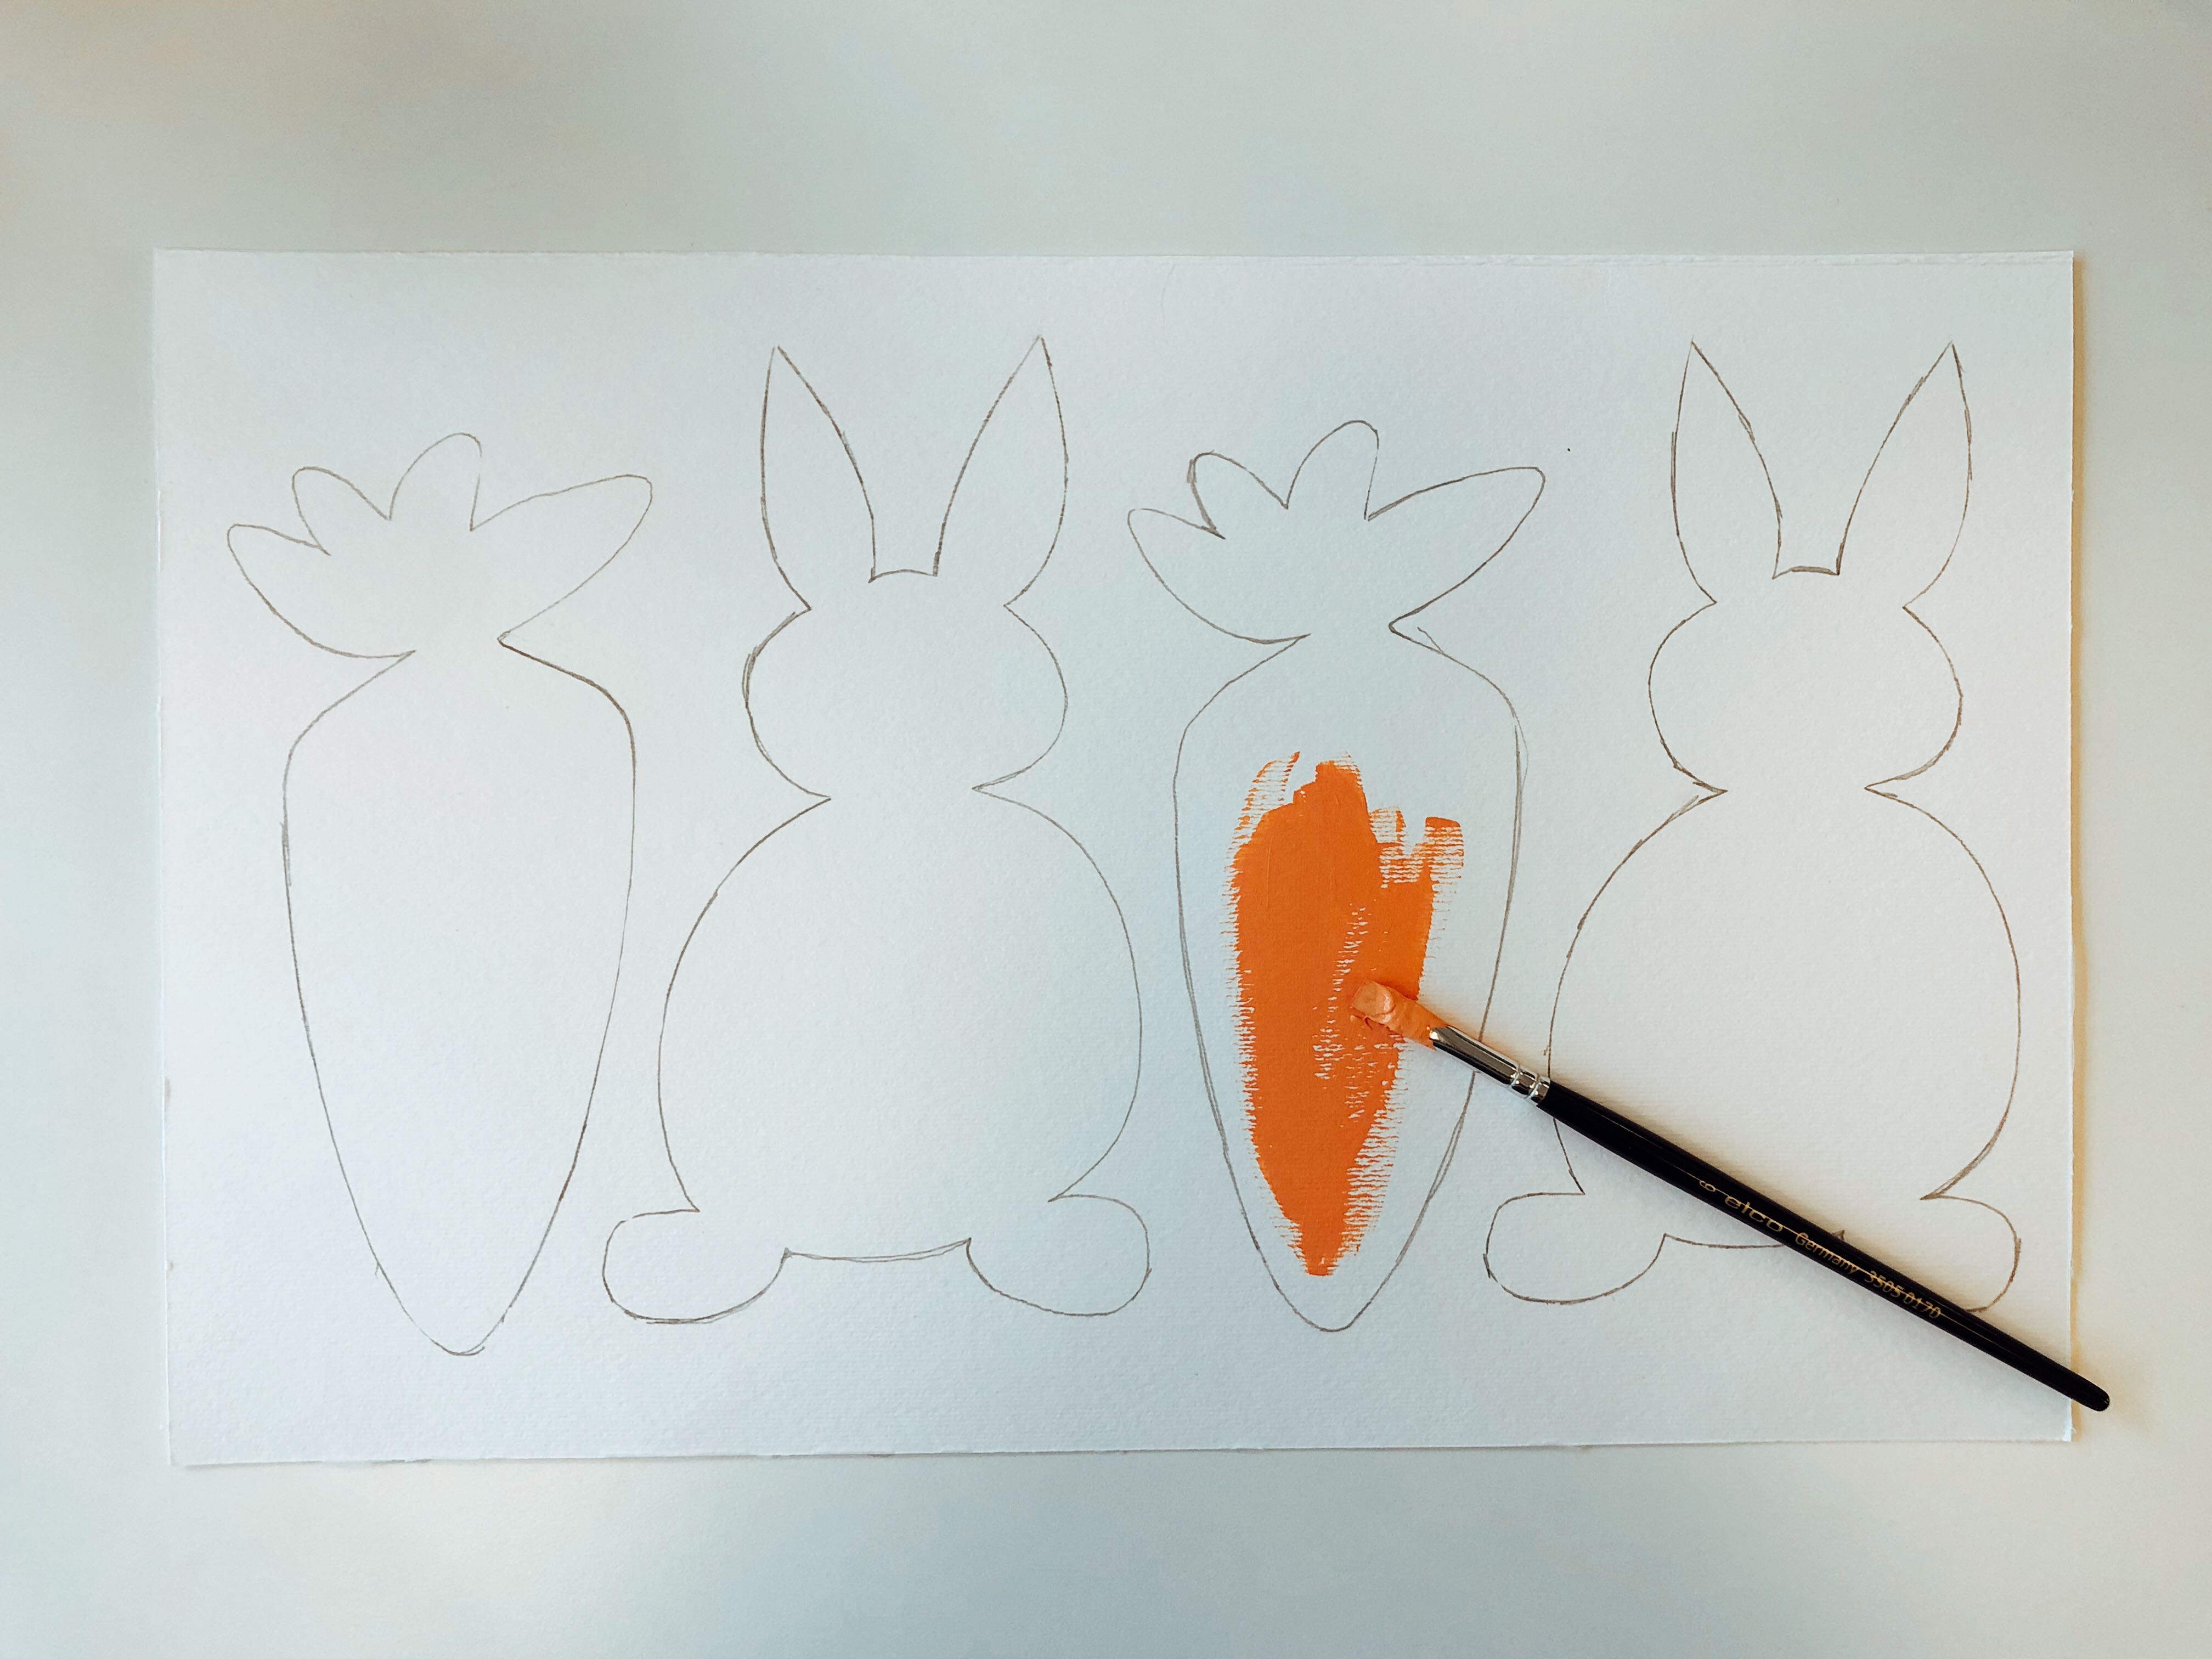
Ta-dah! Here’s how your designs could be looking once you’ve added some colour to them. We decided to stick with realistic colours for our carrots but opted for light blue bunnies. If you’re creating our Easter bunting DIY with kids, they might want to turn up the creativity a few notches and create some purple spotted carrots or rainbow bunnies!

Next on the agenda, we’re going to cut out our carrot and bunny designs and then use a hole punch to create two holes in each design.
Tip: If you don’t have a hole punch, you can use a pin and a skewer to create holes (but you should always ask a parent or adult to do this for you!).

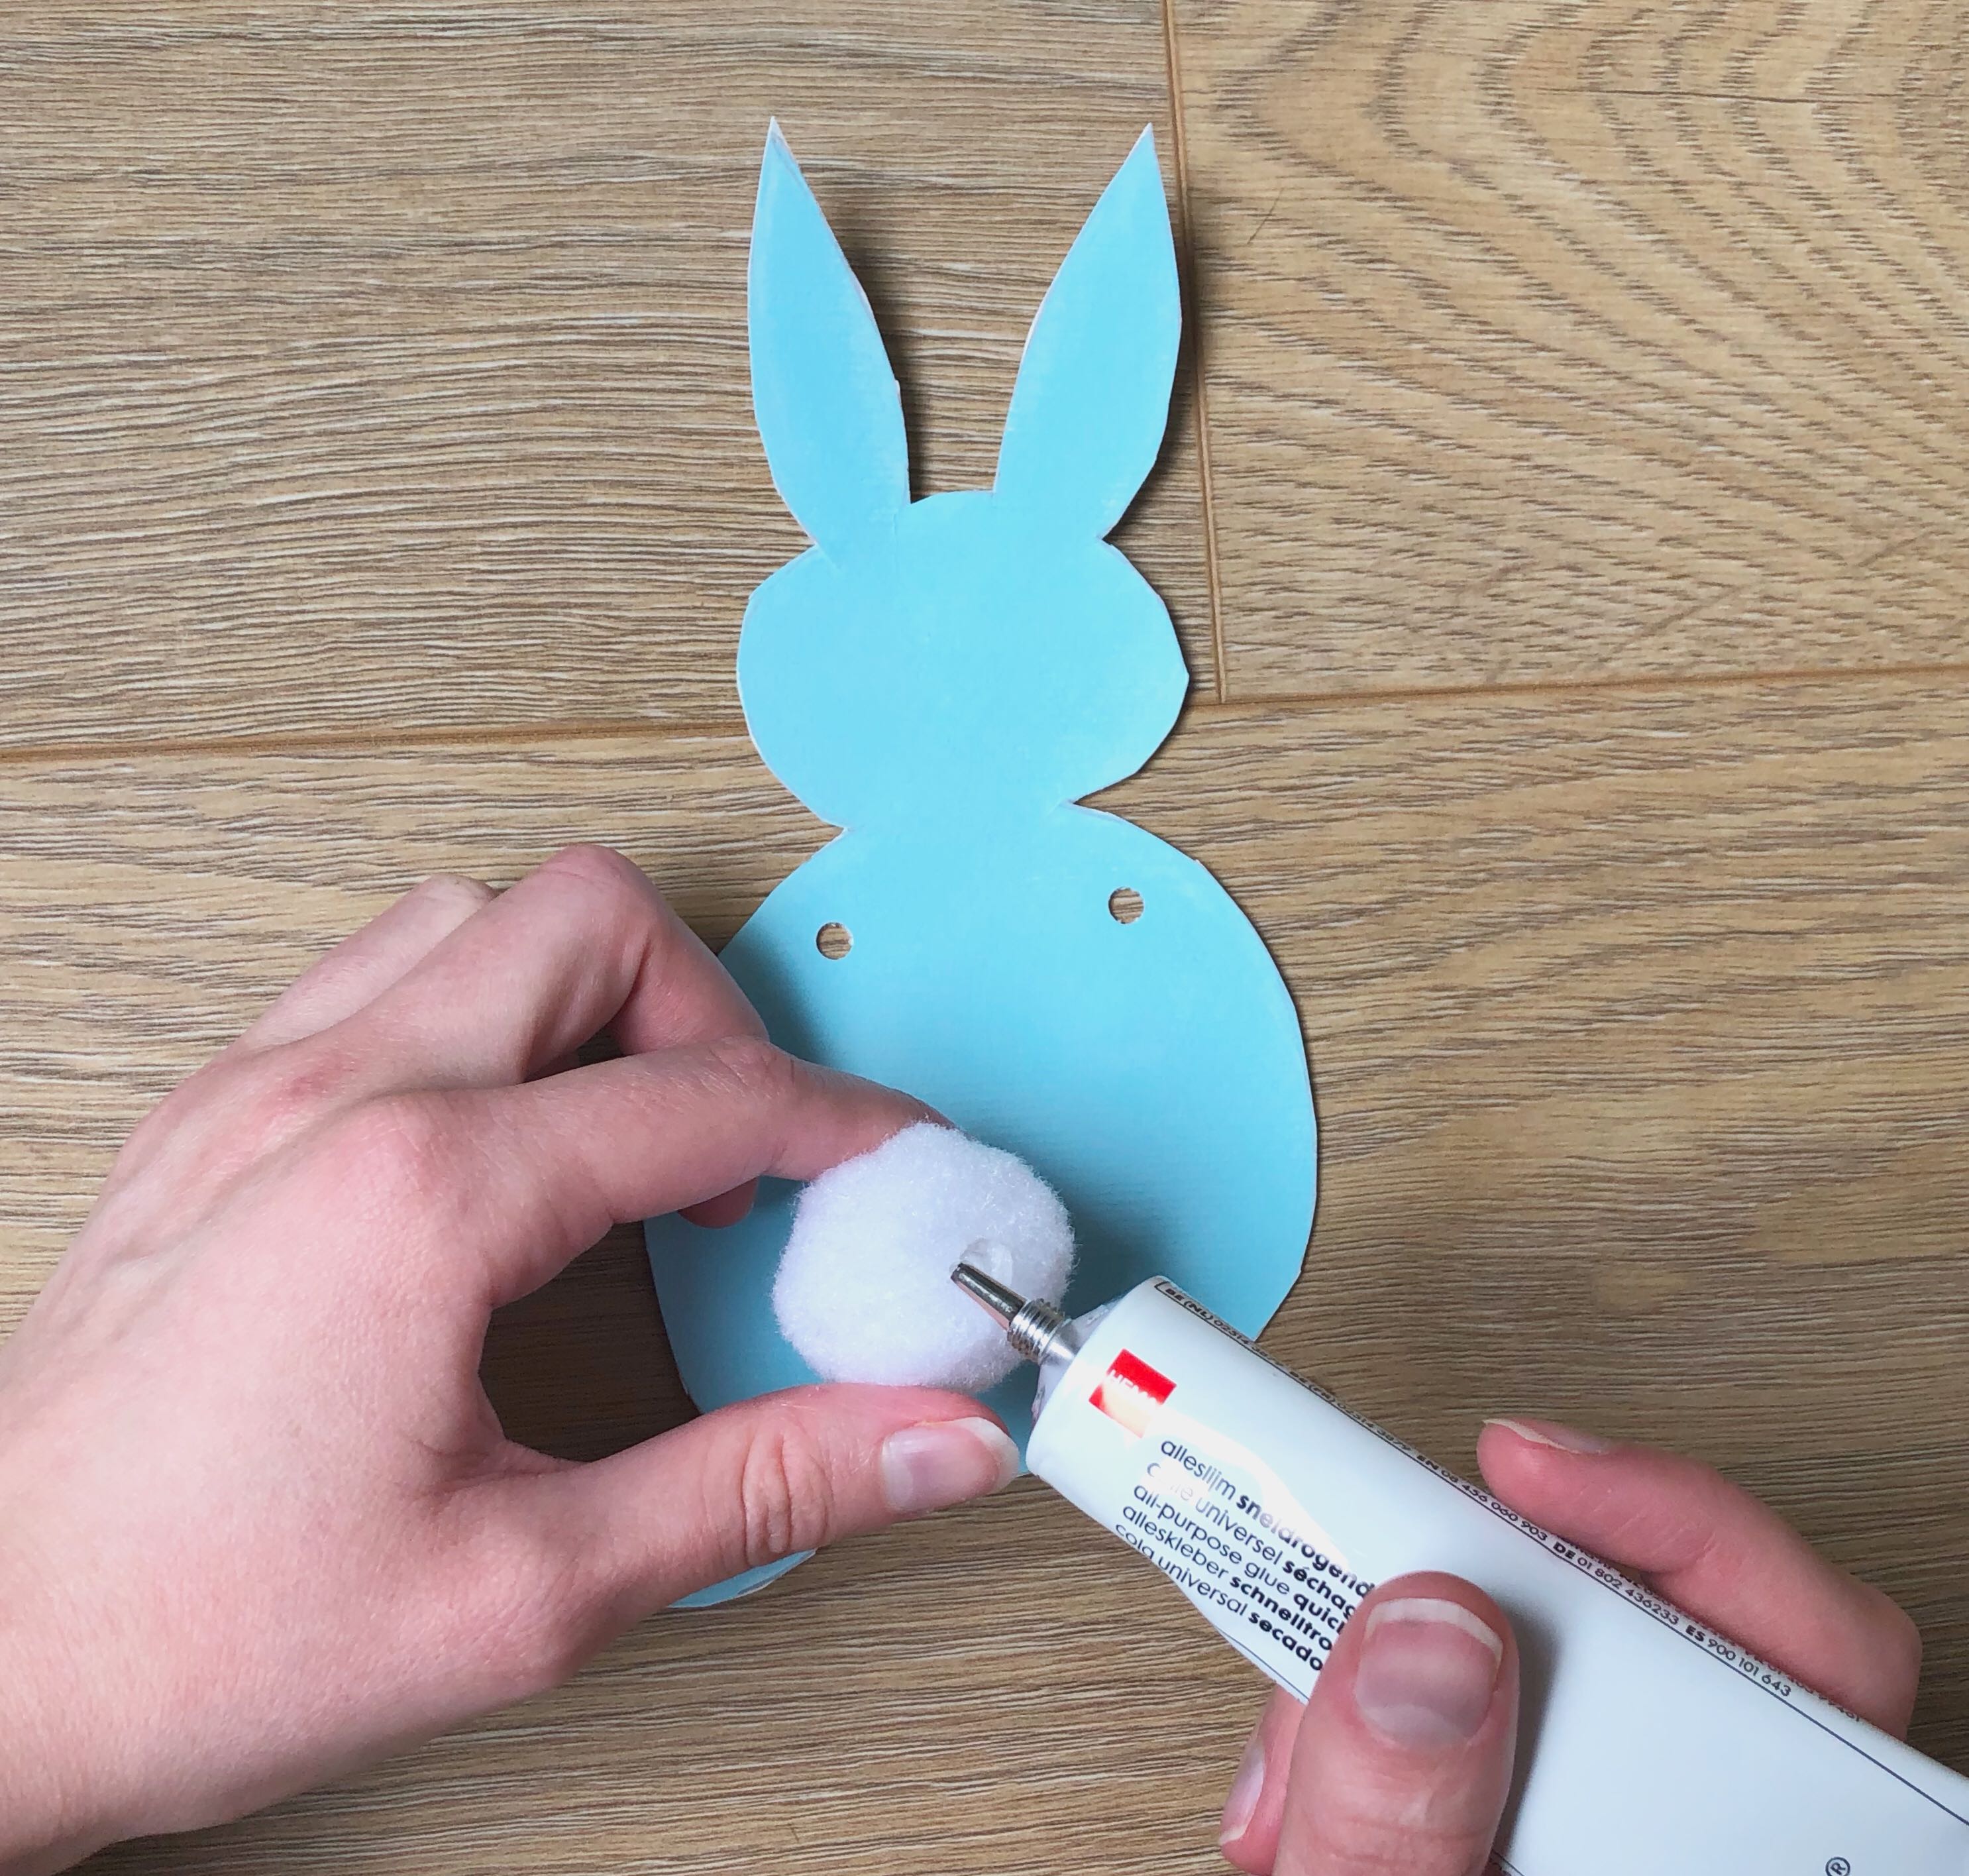
And now for the finishing detail: adding the fluffy bunny tails! We used medium-sized white pom poms and all-purpose quick-drying glue to stick the tails in place.
Tip: If you don’t have any pom poms at home, why not use some string to tie a bow around their necks instead?
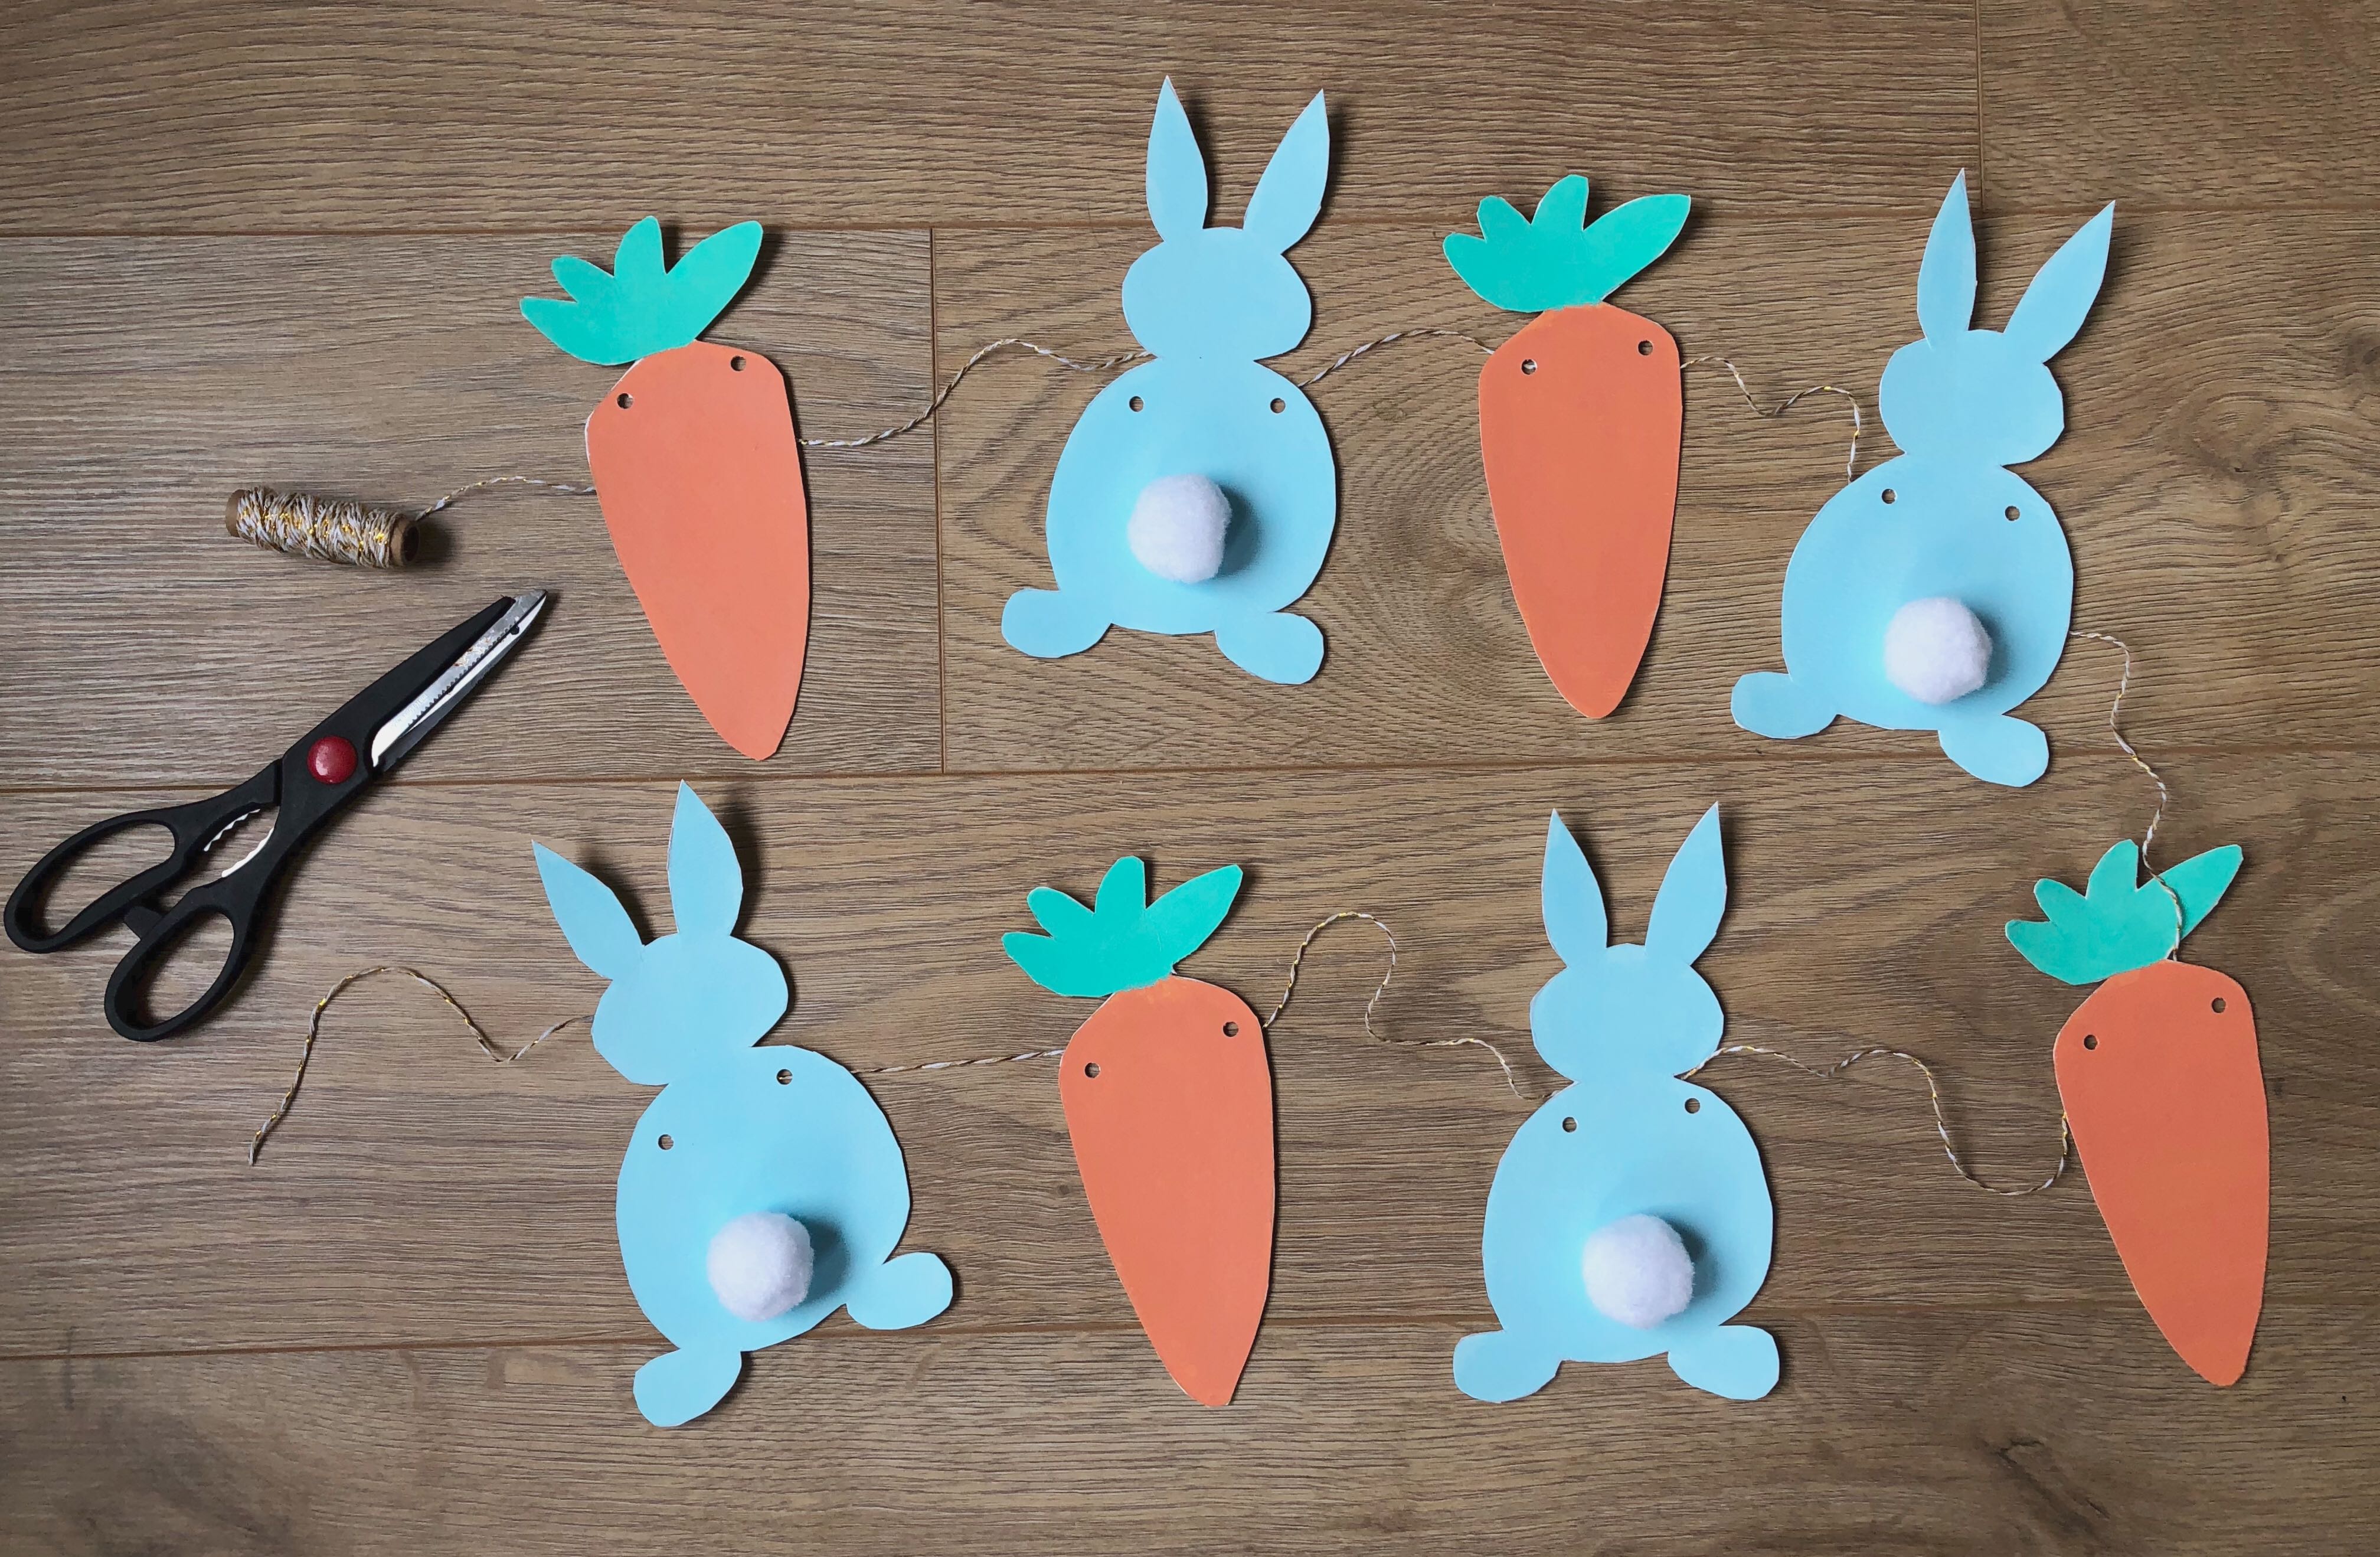
We’re nearly there! For this step, you’re going to need some string (or ribbon) and a pair of scissors. I laid my bunnies and carrots out and measured the length of string I’d need (approx. 1 metre). Keep in mind that you might want to tie a loop at either end of the string so that you can easily hang your bunting over curtain rails, door knobs etc. (so leave an extra length of 30cm or so). To keep the designs in place, I wrapped the string through and around each of the holes to avoid them sliding around.
Good work! Now you’ve created your very own DIY Easter decoration for the holiday season. Why spend money on Easter decorations when you can make them at home and have fun with the kids at the same time?

You can hang your Easter bunting along a curtain rod, around the railings of a staircase, over a bookshelf or hall stand… you get the idea!

A Handmade Easter bunting would also make a fabulous gift for friends and family. Perhaps your kids would like to wrap them up and give them out as gifts along with some chocolates?
Marbled Easter eggs recipe
Thinking about making a cool Easter recipe for kids? You don’t need to look further! These marbled Easter eggs are the coolest and most fun Easter recipe for kids. And it’s super easy to make!
What will you need?
- Eggs (as many as you want)
- Water and a pan
- Food coloring
- White vinegar
- Sandwich bags (one for each color)
Step by step:
First heat up some water in a pan and boil the eggs for about 8min. After they’re cooked leave them immersed for about 5 minutes and take them out. Let them cool down so you can start working with them.

Now that the eggs are cold, use a spoon and gently break their shells. Be careful to not remove it, it’s important that the shell still covers the egg.

Now it’s time to choose your colors! Using food coloring, decide which colors you want your eggs to be. By mixing red and blue, for exemple, you’ll get purple. Once you have decided on the colors of your marbled Easter eggs, it’s time to put some drops of food colorant inside a sandwich bag. After that’s done, place your egg inside the bag and massage it gently until it’s completely covered in dye.

Now close the bag and let it absorb the dye for at least 30min. If you want, you can try different combinations of food colorant and give your marbled eggs more than one color!

Rinse the marbled Easter eggs with water to clean the shells and pour some white vinegar on each one of them in order to fix the color.

Remove the shell and ta-da! Your marbled Easter eggs look amazing!

How fun is this Easter activity for kids? It's also super simple and doesn't take a lot of time. You can use these eggs as part of your Easter dinner or lunch with loved ones, they definitely will make an impression!

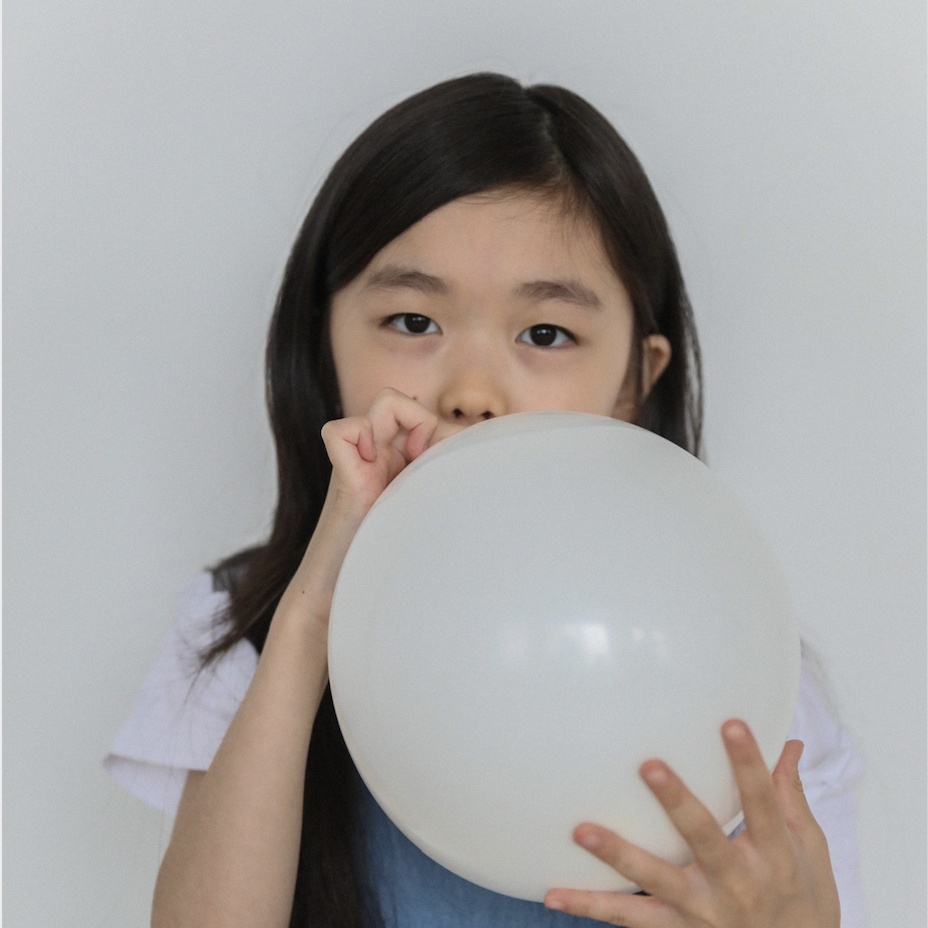
Yarn Easter eggs
Our yarn Easter eggs are easy to make and perfect for filling with your favorite candies. Keep reading and let’s get crafting!

What materials will you need?
- Balloons
- Candy
- School Glue
- Water
- Yarn
Instructions:
Step 1:
Start by filling your balloons with candy. Then blow up your balloon to the size that you want your Easter egg to be.
Step 2:
To make your paper mache paste, mix together 1 part glue and 1 part water. You can also add 1 tablespoon of cornstarch, but it’s not necessary.

Step 3:
Soak your yarn in the glue mixture and let any excess drip off. Wrap your yarn around the balloon several times.

Step 4:
Let your creation dry for 24 hours, or until the glue has set.

Step 5:
Finally, you can pop the balloon and pull it out leaving just the candy inside.

We hope you enjoyed following along with our activities. Be sure to check out our other DIYs for more inspiration here.
We’d LOVE to see your Easter DIYs! Tag @babysits to share your designs with us.


